How to Take a Baby or Child Passport Photo at Home in 2026
Babies can't sit still, can't follow instructions, and won't keep their eyes open on cue. Here's how to get a passport photo for your baby or child that actually passes the first time — without a $30 photo booth.
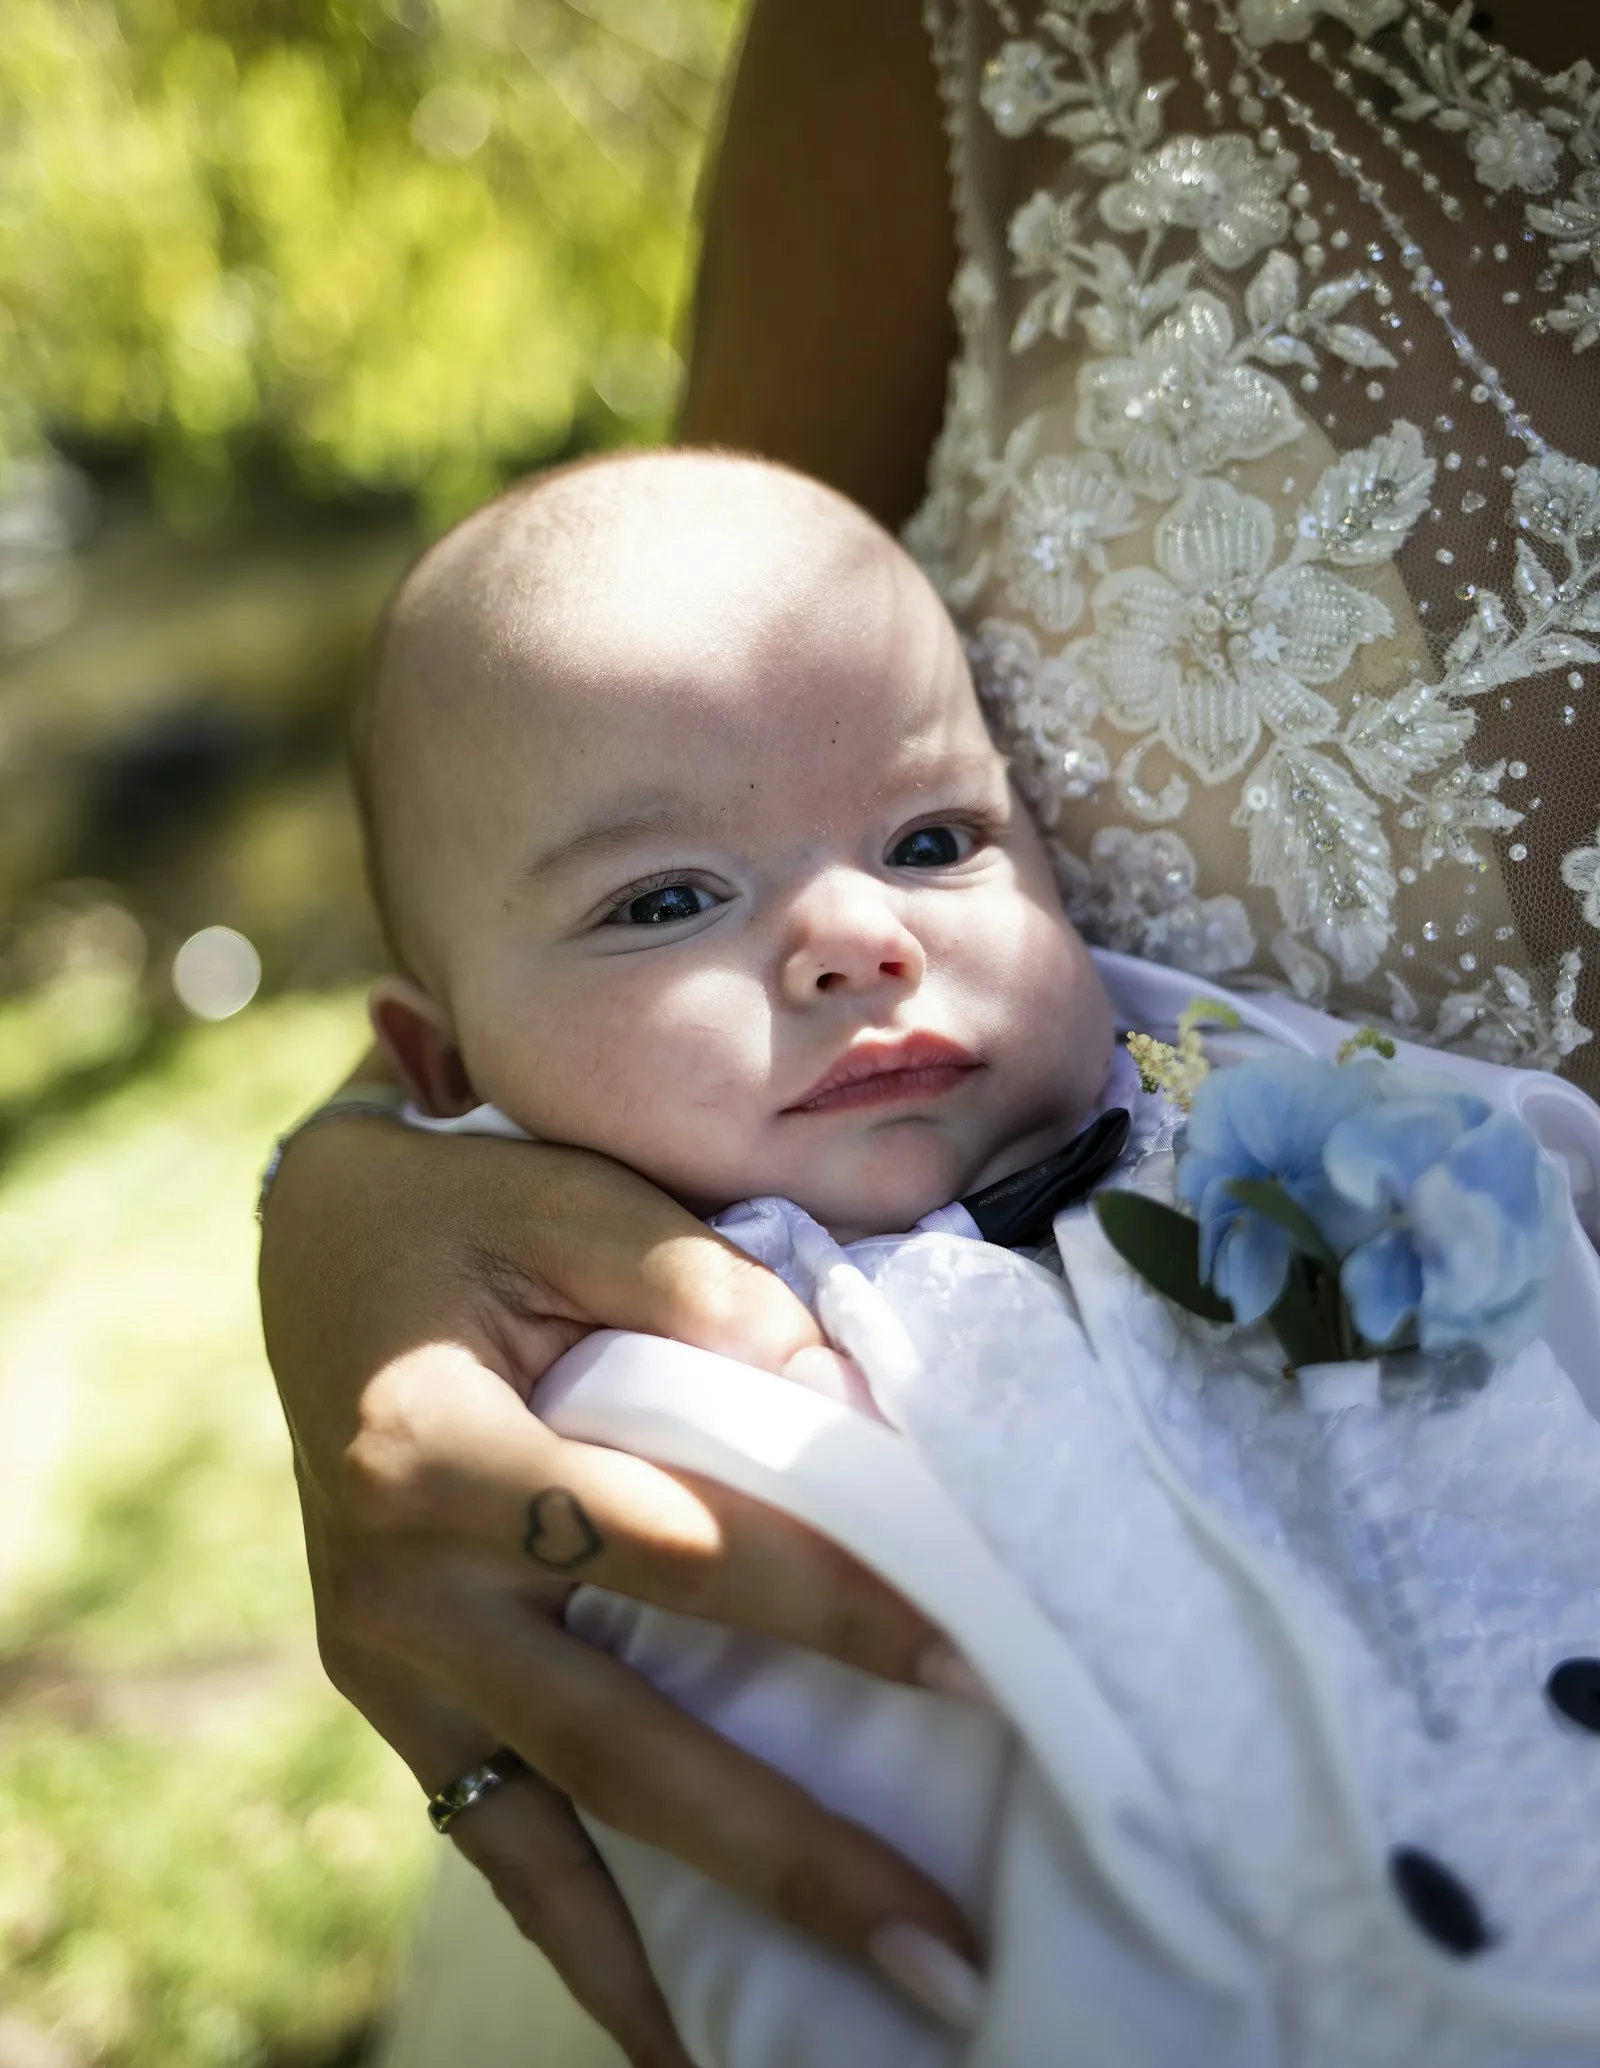
A baby passport photo is the hardest photo you will ever try to take. Adults can stand still, look straight ahead, and keep a neutral expression. Babies cry, fall over, close their eyes, stare at the wrong wall, and start chewing on the corner of the sheet you spent ten minutes ironing.
If you’ve ever stood in line at a pharmacy with a screaming infant while a stranger waves a stuffed elephant at them, you know the drill. The good news: the official spec is simpler than it looks, and you can get a compliant photo at home in about 10 minutes — usually on the third or fourth try, and almost always cheaper than the $20 the studio charges to fail twice.
This guide walks through the requirements that trip parents up most, a setup that works for newborns through preschoolers, and how to crop and print without re-shooting.
Why baby photos get rejected
State Department and embassy reviewers reject roughly 5–10 % of submitted ID photos, and a disproportionate share of rejections are for kids under 5. The most common reasons are predictable:
- Eyes closed or partly closed. Newborns sleep. Toddlers blink. The official rule is “eyes open, looking at the camera,” and “looking past the camera at a parent” is the most frequent borderline case.
- Expression not neutral. A wide smile that shows teeth, a pacifier in the mouth, or any object covering the face will get the photo bounced.
- Head not centered or tilted. Babies who can’t sit up will roll, and a head tilt of more than ~15° usually fails.
- Background not uniform. Shadows on the wall, a patterned blanket, or another person’s hand visible in the frame all count as background defects.
- Wrong size or framing. The U.S. requires the head to occupy 50–69 % of the photo height (roughly 1 to 1⅜ inches in a 2×2 inch print). Most home shots are too zoomed out.
For a full breakdown of country-by-country specs (head size ratio, background color, dimensions), see our visa photo requirements by country guide.
The official rules — simplified for kids
The U.S. and most other countries explicitly relax three rules for infants and small children:
| Rule | Adult | Child under ~5 |
|---|---|---|
| Eyes open, looking at camera | Required | Acceptable if eyes are clearly open, gaze can be slightly off |
| Neutral expression, mouth closed | Required | Slight smile / mouth slightly open is OK; no teeth, no pacifier |
| No other person visible | Required | A parent’s hand may support the head from behind, but must not be visible in the photo |
The rules that do not relax:
- Plain white or off-white background — no patterns, no colored blankets, no shadows.
- No glasses, no hat, no headband, no hair bow that obscures the head outline.
- Sharp focus, no motion blur — this is where most home phone shots fail.
- Even, diffuse lighting on the face — no flash glare, no half-shadow.
Common myth: “Newborns can have their eyes closed.” False. The exception in the State Department guidelines applies only to children under 1 year old, and only if the infant cannot reasonably be photographed with eyes open after multiple attempts. Submit with eyes open whenever possible.
The home setup that actually works
Forget the floor. Forget propping the baby against the couch. The single setup that works for every age range from 0–4 years is a white sheet on the floor plus the parent’s body as a support.
Step 1: Make the background
Lay a white sheet, white towel, or large piece of white poster board flat on the floor near a window. Smooth it out. Avoid:
- Patterned bedding (even subtle patterns count as “non-uniform”)
- Cream, off-white, or eggshell — they shift color under tungsten light and may register as too dark
- Shiny satin or silk — they reflect surroundings and create gradient
If you don’t have a plain white sheet, an unprinted pillowcase pulled flat works for newborns; a roll of plain butcher paper from the kitchen aisle is the cheap-photographer trick for older kids.
Step 2: Use indirect daylight
Position the baby so that soft daylight hits their face from the side — not from behind, not from directly above. The window should be roughly 90° to the camera angle. This avoids:
- Hard shadows under the chin (caused by overhead light)
- A dark face against a bright background (caused by shooting toward a window)
- Yellow color cast (caused by indoor incandescent lighting)
Cloudy days are ideal. Direct midday sun creates harsh shadows; pull a thin curtain across the window if needed.
Step 3: Position the child
For each age group:
- Newborns (0–6 months): Lay the baby flat on the white sheet, head supported. The parent kneels beside the baby (out of frame) and gently turns the head toward the camera. Shoot from directly above, camera parallel to the floor. This way the white sheet fills the entire frame and the parent’s hand stays under the head, hidden.
- Sitters (6–18 months): Same setup, but the baby can sit up briefly with the parent kneeling behind them, hands supporting from below. Aim for the moment the baby is looking up curiously — that’s when the eyes are widest open. Keep a small toy on top of the camera lens to attract the gaze.
- Toddlers (18 months – 4 years): Stand the child against a white wall (use a plain white sheet pinned at chest height as a backdrop). Have a second adult hold the camera at the child’s eye level, ~3 feet (1 m) away. The first adult stands behind the camera and gets the child’s attention.
Step 4: Take 30+ photos
This is the most important rule. Take a lot of photos. Burst mode on any modern iPhone or Android will fire off 10 frames per second. In one minute you’ll have 300+ frames to choose from. Babies blink fast and look around constantly — only one in twenty frames will be usable, and that’s normal.
Pro tip: Make a noise just before you press the shutter, not during. The baby looks toward the noise, eyes wide open for about half a second, then looks away. That half-second is your shot.
How IDSnap handles the rest
Once you have a usable photo on your phone, you still need to:
- Crop to spec — head 50–69 % of frame height for the U.S., 70–80 % for the EU/UK, etc.
- Replace the background with a uniformly clean white (real white, not “looks white in the room”)
- Verify head position — eyes between certain horizontal lines, no tilt
- Export at the right pixel resolution for online submission, plus a 4×6 inch print sheet for the physical copy
This is exactly what IDSnap does on-device, in seconds. The on-device face detection handles babies surprisingly well — it locks onto the eye line and crops accordingly. If the baby is leaning slightly off-center, the editor lets you nudge the crop manually. Background replacement is one tap, with proper white that matches government specs (RGB 255,255,255 — not the slightly grey “white” most home photos actually have).
For a full walkthrough of the at-home capture process for any age, see how to take a passport photo at home, and check the v1.1 release notes for the 50+ country specs IDSnap now supports — including child-size variants where applicable (e.g. Brazil’s reduced head ratio for infants).
Common mistakes parents make
| Mistake | Why it fails | Fix |
|---|---|---|
| Photo on a beige carpet | Background not uniform white | Use a sheet or poster board |
| Phone flash at close range | Red-eye, flat shadow, color cast | Daylight from the side instead |
| Holding baby up to a window | Face is dark, background is bright | Reverse — light from the side, not behind |
| Cropping too tight | Cuts off top of head; head ratio off | Leave breathing room; let the app crop |
| Pacifier “just for the photo” | Counts as object covering face | Remove first, then take photo immediately |
| Smiling baby | Sometimes accepted, sometimes rejected | Aim for relaxed expression, mouth closed |
When the studio is still worth it
Home photos work for ~85 % of cases. The remaining 15 % are usually:
- Premature or very young newborns (under 4 weeks) — Some hospital photographers know exactly how to position, and may be worth the $20–30.
- Children with sensory issues — If the home setup causes distress, a quick studio visit may be less stressful overall.
- Last-minute applications where re-takes aren’t an option — The State Department’s expedite fees are higher than any studio.
For everything else, the home setup plus a free app like IDSnap will save you a trip and produce a higher-quality result.
Try IDSnap for your child’s photo
IDSnap makes the cropping, background replacement, and print-layout part disappear. Take 30 photos on your phone, pick the best one, and IDSnap handles the rest — entirely on-device, with no upload of your child’s face to any server.
Want to see exactly which spec your country requires before shooting? Cross-check our visa photo requirements by country guide. Need the basics for an adult shoot first? Read how to take a passport photo at home.
Download IDSnap free on the App Store →
FAQ
Q: Can a newborn’s eyes be closed in a passport photo? A: Only as a last resort, and only for infants under 1 year old who cannot be photographed with eyes open after multiple attempts. The U.S. State Department lists this as an exception, not the default. Always try for eyes open first — even partially open is preferred over closed.
Q: My toddler won’t sit still. Should I use video and grab a frame? A: Yes — but only as a fallback. Video frames are usually lower resolution than burst-mode photos and may fail the sharpness check. Try iPhone’s Live Photo feature, which captures full-resolution stills around the moment you tap the shutter; you can scrub through and pick the best frame from your camera roll.
Q: Can I use the photo I already took on my phone? A: Often yes. As long as the photo is sharp, the lighting is even, and the background is plain (or you can replace it digitally), IDSnap can crop, swap the background, and export to spec without re-shooting.
Q: Does my child need a separate passport photo from mine? A: Yes. Every passport applicant needs their own individual photo, regardless of age. Babies cannot share a parent’s passport, so even a 1-week-old needs their own compliant ID photo.
Q: How long is a child passport photo valid? A: The photo must be taken within 6 months of the application date for U.S. passports, and similar windows apply in most countries. For children, this is also a practical limit — kids change appearance quickly, and a photo from a year ago may not match the child at the border.
Q: Is it OK if the parent’s hand is supporting the baby from behind? A: Yes, as long as the hand is not visible in the final photo. This is why the “shoot from above with the baby on a white sheet” approach works so well — the parent’s hand goes under the head and out of frame.
Related Articles
How to Take a Professional LinkedIn Headshot at Home for Free in 2026
A studio headshot costs $150–$400. Here's how to take a LinkedIn-quality professional photo at home with your iPhone — lighting, posing, background, and free tools included.
PhotographyIDSnap Launch Preview: Free Passport Photos on Your iPhone — No Upload, No Subscription
IDSnap is coming soon to iOS — on-device AI for passport and visa photos, 12+ country specs, print-ready export, and zero cloud uploads.
PhotographyVisa Photo Requirements by Country: Sizes, Backgrounds, and Rules You Need to Know
A complete guide to passport and visa photo requirements for the US, UK, EU, Canada, China, India, Australia, and more. Avoid rejection with the right size, background, and format.
Try IDSnap
Free ID photo maker powered by on-device AI. Take or pick a photo, auto-detect your face, swap the background, and export print-ready passport photos — all without uploading anything.